The plan is now to have everything finished to allow planking to start on the 1st. of May.
- Bulkheads need finishing
- The scarfing area needs to be set up
- Sternpost (deadwood ) needs to be chamfered to suit planking
- Keelson needs to be trimmed and fitted.
Starting with Bulkheads:
- Bulkhead #5 needs sheathing and floor laminates , both sides.
- Bulkhead #7 needs sheathing and floor laminates, one side.
- Bulkhead #9 needs sheathing and floor laminates, one side.
The weather is perfect , 11 to 26C. But getting through the work is taking so much time, why? I took a few photos to get an idea., a bit of time and motion study.
After removing the 47kg bulkhead from the jig and moving it to the flat bench, the first job is to remove the epoxy/colloidal silica/western red cedar flour glue. I add a touch of wood flour to keep the glue line dark and unobtrusive. The old Hitachi belt sander with 80grit paper makes short work of removing the hard resin without digging into the soft birch plywood. The bearings sound like they need regreasing, there’s always unplanned work. Actually, before sanding I first gave the bulkhead another wipe down with oxalic acid to remove any traces of black mould.

The good old Elu orbital kicks up a bit of dust whilst removing the belt sander score marks.

Confession Time! It looks like I did not allow for planking thickness when preparing the CNC cut files.

Fortunately its a case of removing material, first I need a fair curve to cut to.

Then a very careful jigsaw cut.

Right, all done. That was a stupid mistake.

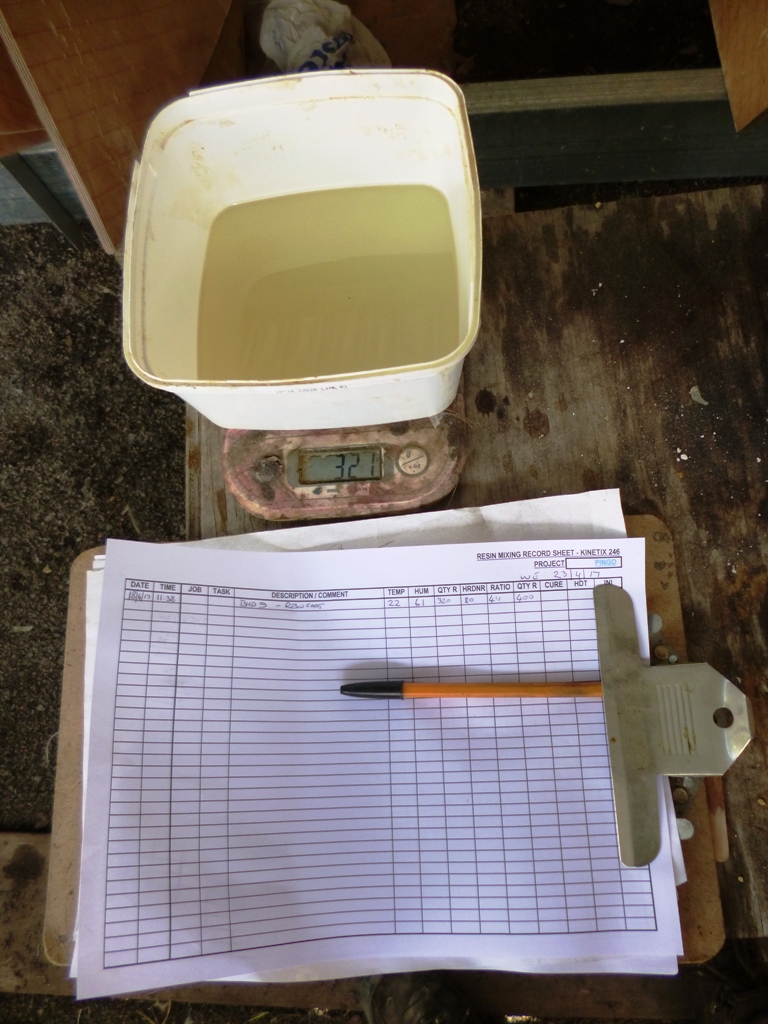
Now to mix up 130 grams of epoxy per square meter as a seal coat. This bulkhead is about 2.5 square meters, so 130 x 2.5 = 325 grams. I’ve mixed up 320 gram of resin plus 80 grams of hardener giving a total of 400 grams to allow for waste. The scale photo below is for the resin only.
On it goes.

And while it soaks in, I can cut glass.

The day is warming up and we getting typical outgassing from the plywood.

After an hour or so its time to squeegee to remove excess resin.

A few hours later and the epoxy resin has cured sufficiently to allow the plain weave sheathing to be applied. To reduce waste I’m using offcuts in the bilge area. The epoxy is just tacky at this stage.
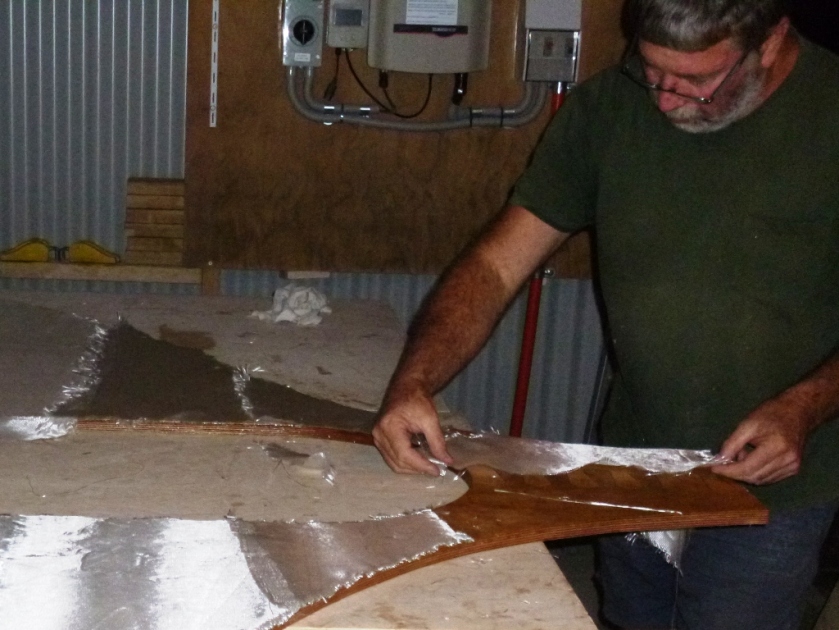
The puzzle joins get an extra double bias tape reinforcing.

Its 1AM next day, the integral floor reinforcement laminates are done, and a peel ply added. There’s condensation on the tin roof, a tarp is rolled over the bulkhead to keep it dry and protected from drips.

A quick glass of buoyancy wine, and then bed.
